Note
Go to the end to download the full example code.
How to work with FEFLOW data in pyvista.#
Section author: Julian Heinze (Helmholtz Centre for Environmental Research GmbH - UFZ)
In this example we show how a simple FEFLOW model consisting of two layers can be converted to a pyvista.UnstructuredGrid.
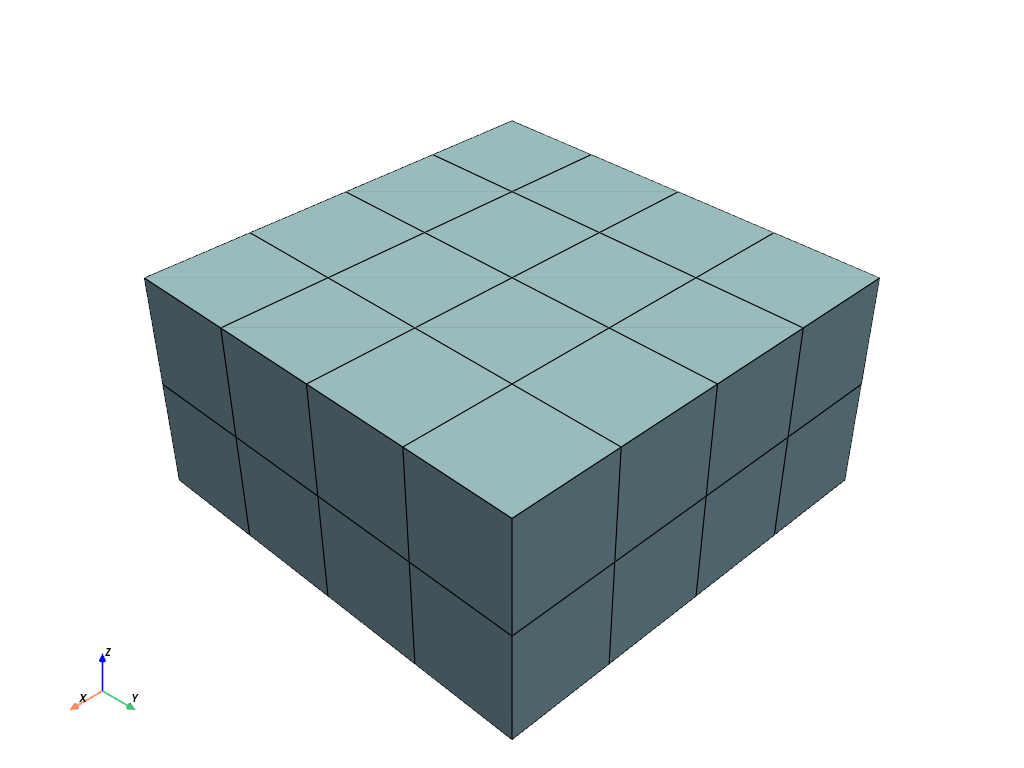
Let us convert only the points and cells at first.
import ifm_contrib as ifm

import ogstools.meshplotlib as mpl
from ogstools.examples import feflow_model_2layers
from ogstools.feflowlib import (
    convert_geometry_mesh,
    update_geometry,
)

# Load a FEFLOW model (.fem) or FEFLOW results file (.dac) as a FEFLOW document.
feflow_model = ifm.loadDocument(str(feflow_model_2layers))
pv_mesh = convert_geometry_mesh(feflow_model)
pv_mesh.plot(show_edges=True, off_screen=True)

17.06.2024 15:52:54 - INFO - There are 75 number of points and 32 number of cells to be converted.
17.06.2024 15:52:55 - INFO - Translator(prefix=None)
17.06.2024 15:52:55 - INFO - awaiting runner setup
17.06.2024 15:52:55 - INFO - awaiting site startup
17.06.2024 15:52:55 - INFO - Print WSLINK_READY_MSG
17.06.2024 15:52:55 - INFO - Schedule auto shutdown with timout 0
17.06.2024 15:52:55 - INFO - awaiting running future
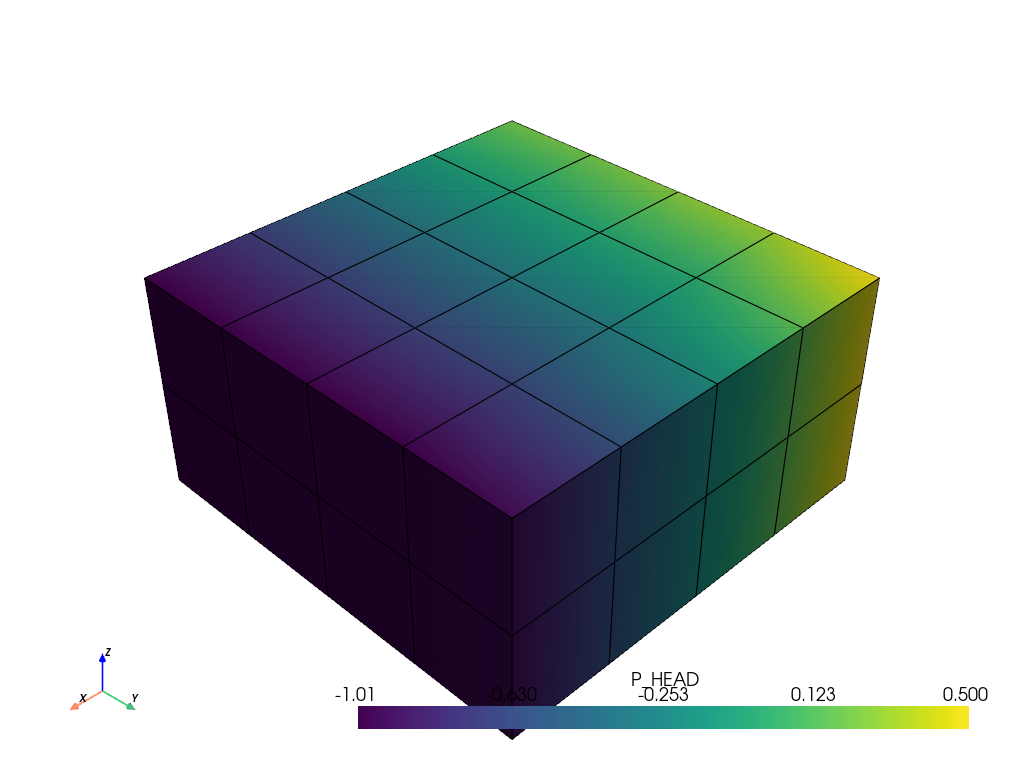
To this mesh we add point and cell data.
pv_mesh = update_geometry(pv_mesh, feflow_model)
pv_mesh.plot(scalars="P_HEAD", show_edges=True, off_screen=True)
# Print information about the mesh.
print(pv_mesh)

17.06.2024 15:52:55 - INFO - MaterialIDs refer to: {}
17.06.2024 15:52:55 - INFO - These data arrays refer to point data: ['SLICE', 'TOP_NODE', 'X', 'Y', 'P_BC_FLOW', 'P_ELEV', 'P_HEAD', 'P_MSH_XY', 'P_MSH_Y', 'P_PRESS']
17.06.2024 15:52:55 - INFO - These data arrays refer to cell data: ['LAYER', 'TOP_ELEMENT', 'P_COMP', 'P_CONDX', 'P_CONDY', 'P_CONDZ', 'P_INACTIVE_ELE', 'P_IOFLOW', 'P_SOUF', 'P_TRAF_IN', 'P_TRAF_OUT', 'MaterialIDs']
17.06.2024 15:52:55 - INFO - These data arrays have been neglected as they are full of nans: ['P_MOD_FLOW', 'P_BCFLOWMOD_2ND', 'P_BCFLOWMOD_2ND_INT', 'P_BCFLOWMOD_3RD', 'P_BCFLOWMOD_3RD_INT', 'P_BCFLOWMOD_4TH', 'P_BCFLOW_2ND', 'P_BCFLOW_2ND_INT', 'P_BCFLOW_3RD', 'P_BCFLOW_3RD_INT', 'P_BCFLOW_4TH', 'P_FLOWBCC_1ST_MAX', 'P_FLOWBCC_FIRST', 'P_FLOWBCC_2ND_MAX', 'P_FLOWBCC_2ND_MAX_INT', 'P_FLOWBCC_2ND_MIN', 'P_FLOWBCC_2ND_MIN_INT', 'P_FLOWBCC_3RD_MAX_FLUX', 'P_FLOWBCC_3RD_MAX_HEAD', 'P_FLOWBCC_3RD_MAX_INT_FLUX', 'P_FLOWBCC_3RD_MAX_INT_HEAD', 'P_FLOWBCC_3RD_MIN_FLUX', 'P_FLOWBCC_3RD_MIN_HEAD', 'P_FLOWBCC_3RD_MIN_INT_FLUX', 'P_FLOWBCC_3RD_MIN_INT_HEAD', 'P_FLOWBCC_LAST', 'P_FLOWBCC_4TH_MIN']
UnstructuredGrid (0x7fb134be8dc0)
  N Cells:    32
  N Points:   75
  X Bounds:   3.000e+01, 7.000e+01
  Y Bounds:   3.000e+01, 7.000e+01
  Z Bounds:   -2.000e+01, 0.000e+00
  N Arrays:   22
3. As the FEFLOW data now are a pyvista.UnstructuredGrid, all pyvista functionalities can be applied to it.
Further information can be found at https://docs.pyvista.org/version/stable/user-guide/simple.html.
For example it can be saved as a VTK Unstructured Grid File (*.vtu).
This allows to use the FEFLOW model for OGS simulation or to observe it in Paraview`.
pv_mesh.save("2layers_model.vtu")
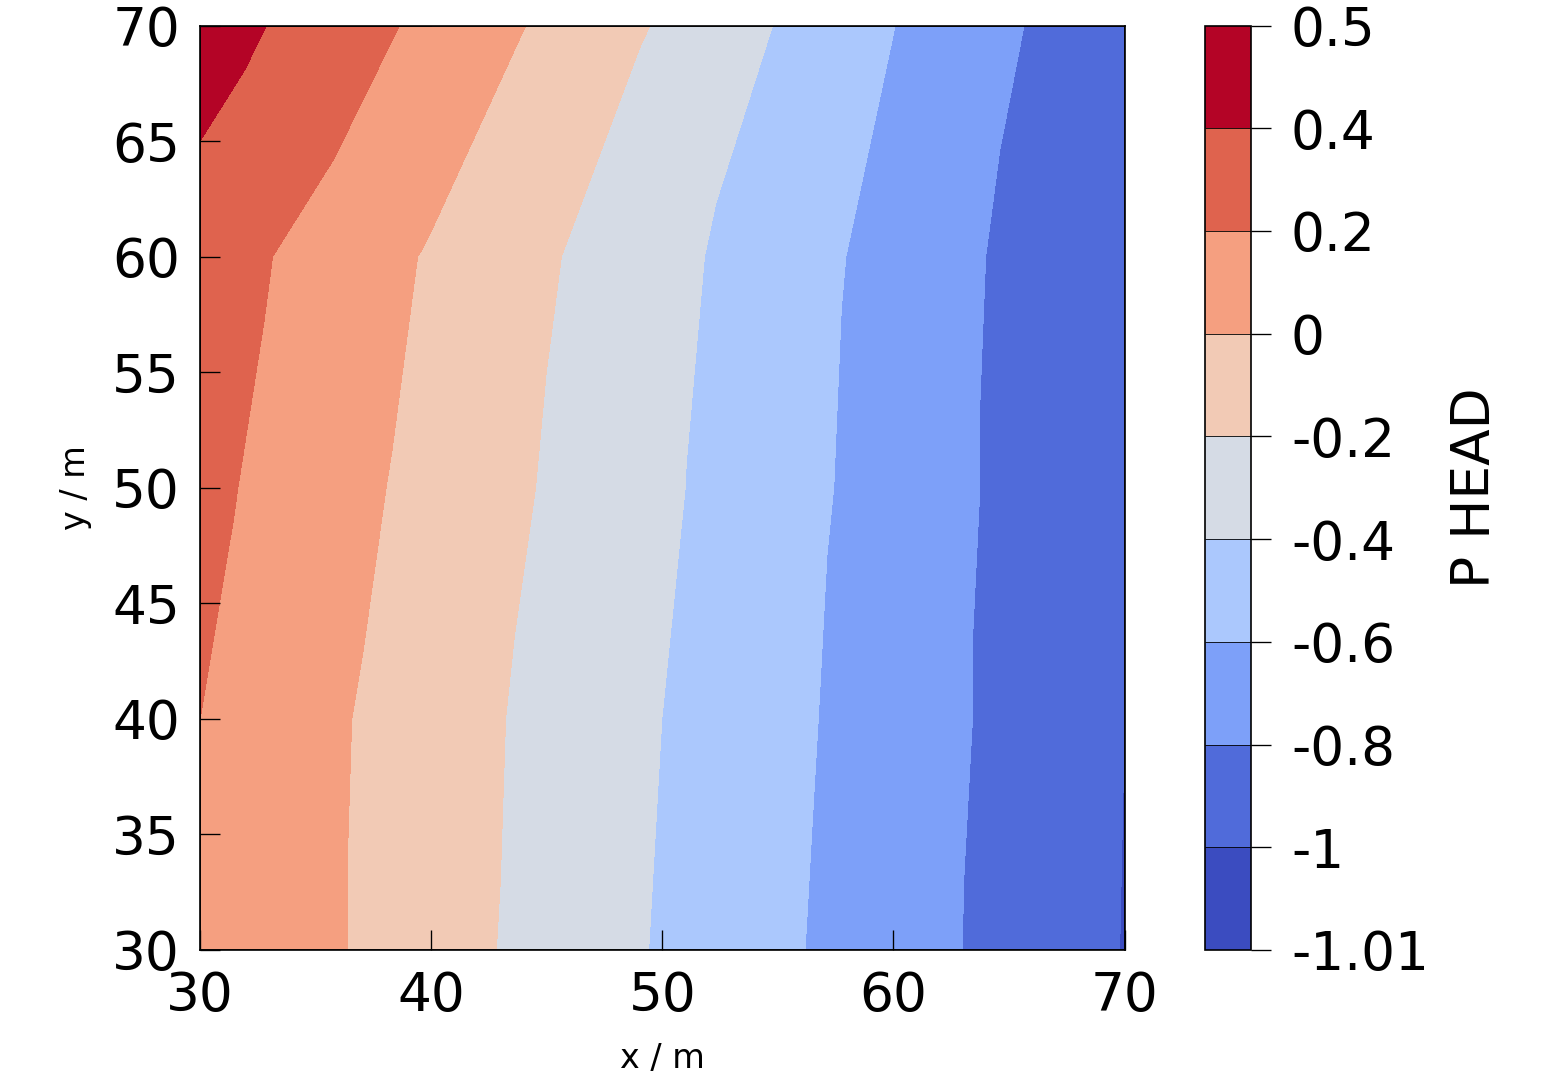
As the converted mesh is a pyvista.UnstructuredGrid, we can plot it using meshplotlib.
fig = mpl.plot(pv_mesh.slice("z"), "P_HEAD")

Total running time of the script: (0 minutes 2.418 seconds)
